

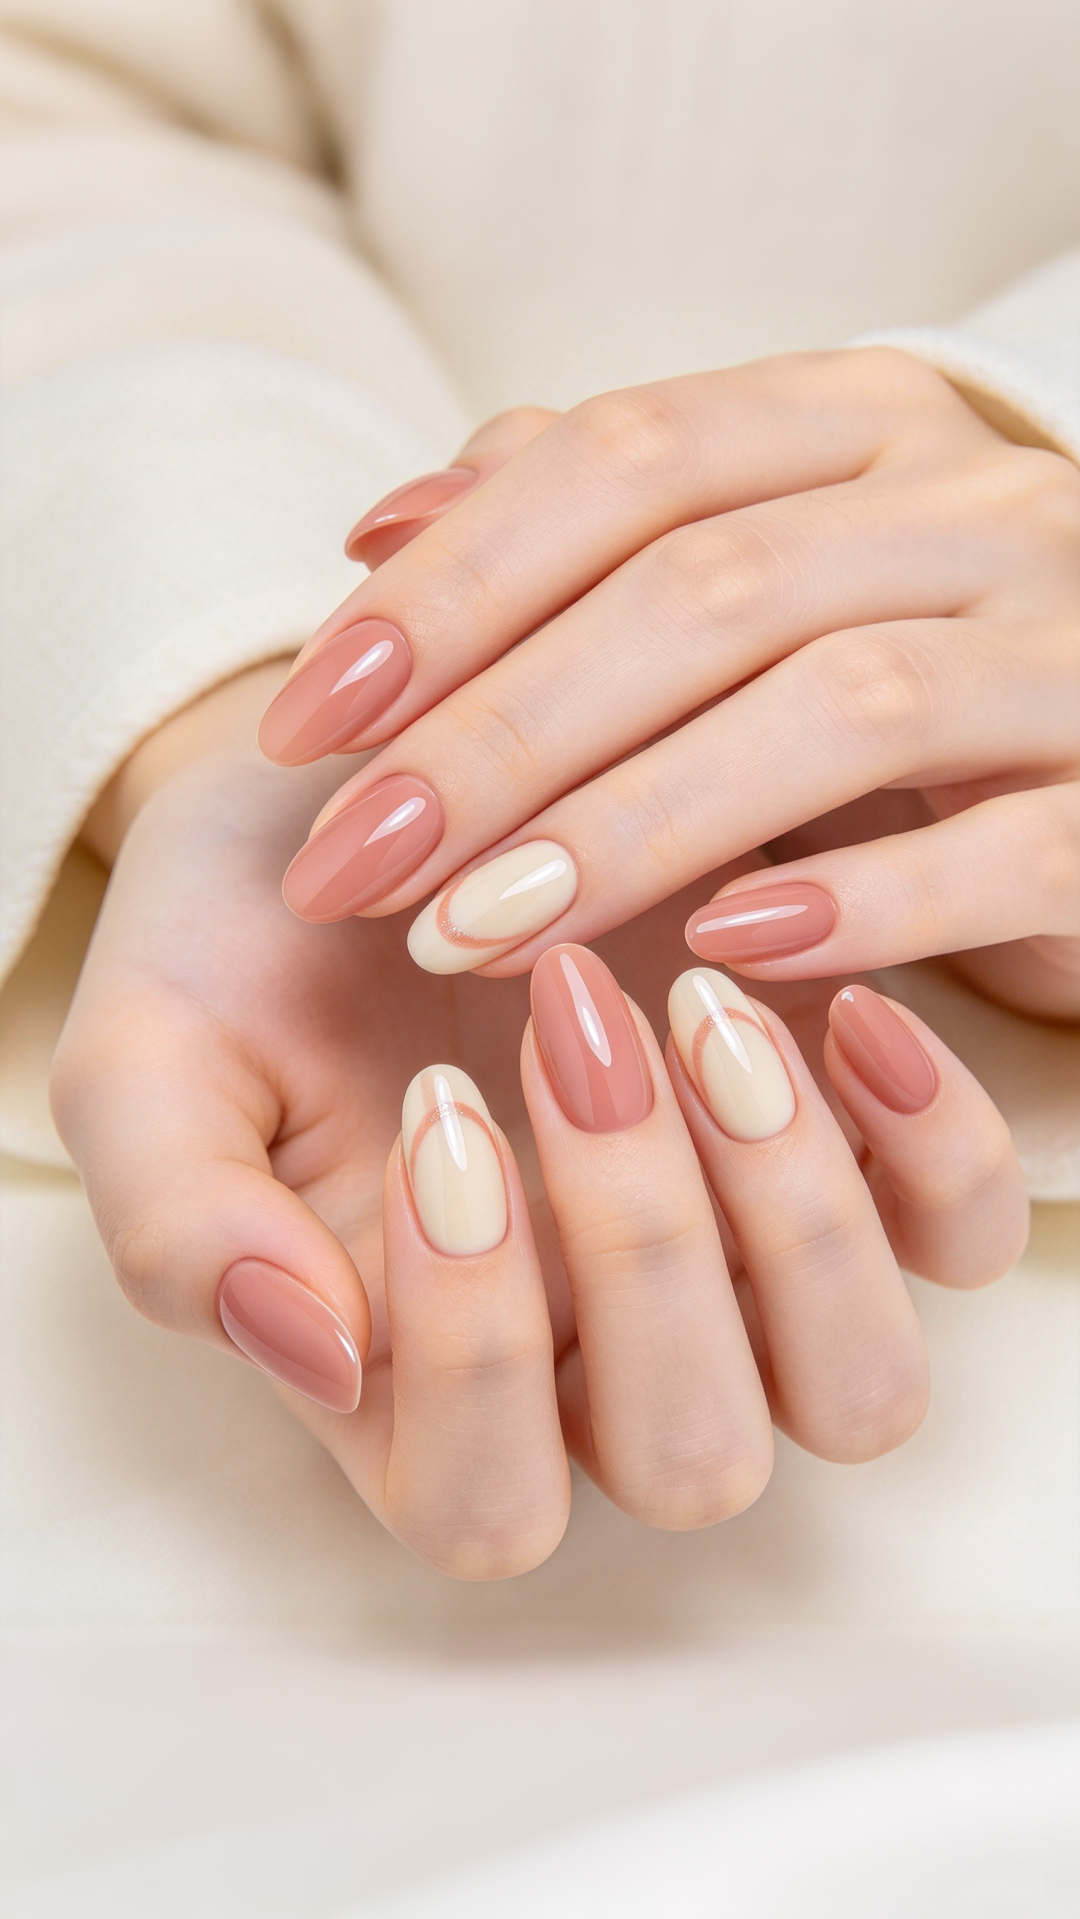
You just unboxed a fresh set of press-on nails, and three days later the corners are lifting. Sound familiar? The truth is, most sets don't fail because the nails are low quality — they fail because prep and aftercare get rushed. Knowing how to make press on nails last longer is less about the product and more about how you apply and treat it.
At Jolifeu, every set is handmade, salon-quality and made to be reused — but even a $39–59 handmade set will only go the distance if you give it a fair start. Here are the 10 tips our team uses to push a set to two weeks or more, plus the small mistakes that quietly shorten the life of every wear.
The short answer: what actually makes press-on nails last longer
If you only remember a few things, remember these. Each is expanded step-by-step below.
- Prep beats glue. Clean, dry, oil-free nails are the single biggest factor.
- Size every nail. A set that fits won't lift at the edges.
- Pick the right adhesive for your wear time — glue for 1–2 weeks, adhesive tabs for a night.
- Press and hold 10–15 seconds per nail; don't just tap.
- Keep them dry for the first hour so the glue fully cures.
- Cap the free edge with a quick file so nothing catches.
- Gloves on for dishes, cleaning and chemicals.
- Don't use nails as tools — no prying cans or scraping labels.
- Re-glue a lifting edge on day one, not day five.
- Moisturize cuticles daily so the nail bed stays healthy and flexible.
Follow all ten and a handmade, reusable set will comfortably clear the two-week mark — often with a second or third wear still in it.
Why press-on nails lift early (and why it's fixable)
A press-on nail is basically a thin, pre-shaped cover bonded to your natural nail with adhesive. It lifts for three reasons: the surface wasn't clean, the adhesive didn't cure, or the edge caught on something. None of these are about "cheap nails" — they're about process.
That matters because a set that lasts two weeks is dramatically cheaper than one you replace every three days. It's also the difference between "these look fake" and "these look salon-done." When the bond is clean and the edges are sealed, press-ons sit flush and read as a real manicure — which is exactly the salon-quality finish Jolifeu builds every handmade set to deliver.
The 10 pro tips, step by step
1. Start with clean, dry, oil-free nails
Purpose: give the adhesive a surface it can actually grip. Wash your hands, then wipe each nail with a lint-free pad and rubbing alcohol or a gel cleanser. Skip hand lotion right before applying — oils are the enemy of a strong bond.
2. Match the right size to every nail
Purpose: a correct fit prevents edge lift, which is where most failures start. Lay all ten tips out and match each to your natural nails before you glue anything. If a nail sits between sizes, choose the slightly larger one and file the sides — never force a too-small tip on.
3. Push back cuticles and buff lightly
Purpose: remove the dead skin and shine that block adhesion. Gently push back cuticles, then give each nail a few light buffs to take the surface shine off. Don't over-buff; you just want a matte, clean surface.
4. Choose the right adhesive for how long you'll wear them
Purpose: different jobs need different glue. For 1–2 weeks of wear, use nail glue. For a single night out, adhesive tabs are gentler and easier to remove. (Not sure which? Our guide on applying press-on nails without glue covers exactly how tabs hold — and when glue is still the better call.)
5. Apply from the cuticle outward, then press and hold
Purpose: a full-contact bond with no trapped air. Apply a thin bead of glue to your natural nail (not the tip), place the tip at the cuticle at a 45° angle, roll it down, then press firmly for 10–15 seconds. Work thumb to pinky.
6. Keep them dry for the first hour
Purpose: let the glue fully cure before it meets water. No washing dishes, no shower steam, no swimming for at least an hour after applying. This is the step people skip most — and it's the fastest way to lose a nail by day two.
7. File the free edge down and cap it
Purpose: stop the edge from catching on hair, fabric and pockets. Once all ten are on, take a fine file and gently bevel the top edge of each tip so there's no sharp ledge. Ten seconds here buys days of wear.
8. Wear gloves for water and chemicals
Purpose: prolonged water exposure is the #1 enemy of a long wear. Dish soap, cleaning sprays and even long hot showers weaken the bond. Pull on rubber gloves for chores — your manicure will thank you.
9. Never use your nails as tools
Purpose: impact and prying snap the bond instantly. Opening cans, scraping stickers, prying keys — all instant lift. Use a tool instead; it takes the same three seconds.
10. Re-glue a lifting edge on day one, and moisturize cuticles
Purpose: catch small problems early. The moment a corner lifts, add a tiny drop of glue and press it back down — don't wait until half the nail is off. And dab a little cuticle oil daily so the nail bed stays healthy and flexible between wears.
The Jolifeu take
Great application is only half the story — the set underneath matters too. Jolifeu press-on nails are handmade, salon-quality and built to be reused, so when you follow the ten tips above you're not stretching a single wear — you're protecting a set that's designed to give you three or more wears from one purchase. That's the whole point of a $39–59 handmade set versus a disposable one: better value per wear, and a finish that holds up.
Every set is made to order in the sizes and shapes you actually want, with free shipping worldwide, and every set is delivered in 15–21 business days. If you're new to press-ons, start with our handmade collection, and see how the right care lets one set last 3+ wears instead of just one.
The bottom line
Press-on nails absolutely can last two weeks — the difference is in the prep, the adhesive and the daily habits. Clean the nail, size it right, glue it properly, keep it dry for that first hour, and treat your hands kindly. Do that, and how to make press on nails last longer stops being a mystery: it's just a routine. Master it once, and every handmade set you wear will look salon-fresh for the full two weeks — and still have a second life left in it.
FAQ
How long should press-on nails last? With proper prep and glue, a handmade set typically lasts 1–2 weeks. Adhesive tabs are shorter, around 3–5 days.
Do press-on nails last longer with glue or tabs? Glue. Nail glue creates a stronger, longer-lasting bond (up to two weeks), while adhesive tabs are designed for easy, short-term wear.
Can I shower with press-on nails? Yes — but avoid soaking them for the first hour after applying, and keep showers short and not-too-hot afterward to protect the bond.
Why do my press-on nails lift after one day? Almost always one of three things: nails weren't cleaned of oil, the glue didn't cure (water too soon), or the size didn't fit. Fix the prep and the fit, and day-one lift disappears.
How many times can I reuse press-on nails?
A handmade, salon-quality set like Jolifeu's can be gently removed and reapplied for three or more wears if you clean the base before reusing.