

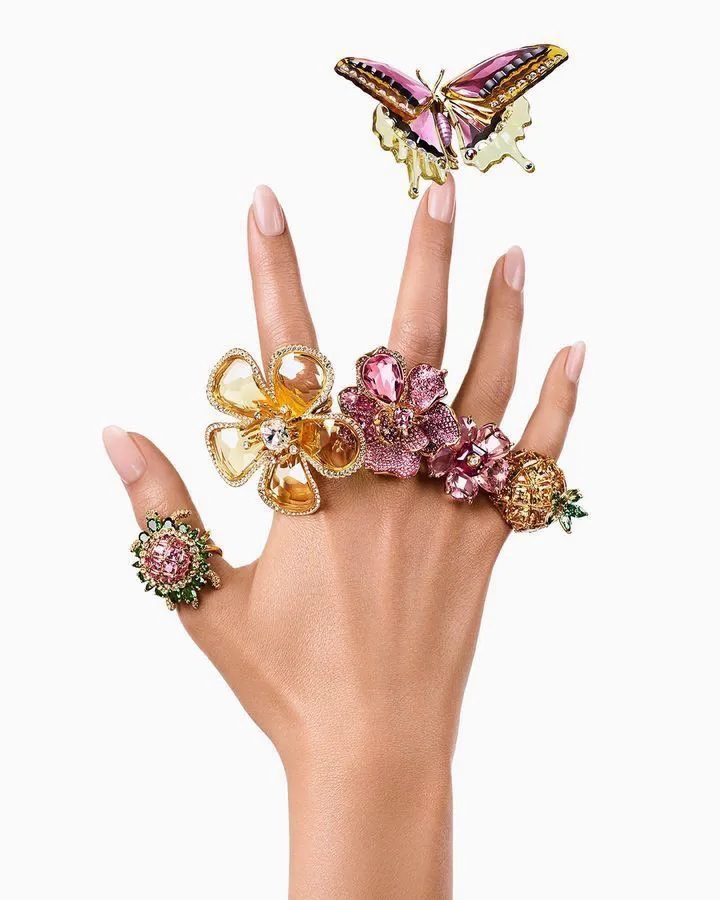
Press-on nails have come a long way. What used to be a one-night drugstore fix is now a genuine salon alternative—especially when they're handmade, reusable, and designed to fit your mood. At Jolifeu, our handmade press-on nails are made to look effortlessly polished, but the finish still depends on one thing: how you apply them.
In this guide, you'll learn how to apply press-on nails step by step, avoid the most common mistakes, and make your set last 7–14 days. Whether you're getting ready for a vacation, a date, or just a Tuesday that needs more color, this tutorial will take you from bare nails to finished in under 20 minutes.
What You'll Need
- A Jolifeu press-on nail set
- Nail file / buffer
- Cuticle pusher (or orangewood stick)
- Alcohol prep pad or nail polish remover
- Nail glue or adhesive tabs
- Cuticle oil (optional, for after application)
Step 1: Prep Your Natural Nails
The biggest reason press-ons pop off early is oil and moisture left on the nail bed. Use polish remover or an alcohol pad to clean each nail thoroughly. Push back cuticles gently—don't cut them. Lightly file the surface to remove shine and create texture for better grip.
Step 2: Size and Shape Each Nail
Lay out all the Jolifeu nails and find the best fit for each finger. The press-on should cover your natural nail from sidewall to sidewall without overlapping the skin. If you're between sizes, go slightly smaller, not larger. File the sides if needed, but avoid over-filing the tip.
Step 3: Apply Adhesive
We recommend nail glue for 10–14 day wear. Apply a thin layer to your natural nail and a small dot to the back of the press-on. For shorter-term wear—or if you plan to reuse the set frequently—use adhesive tabs instead. Avoid getting glue on your skin.
Step 4: Press and Hold
Place the press-on at the cuticle area first, then roll it down toward the free edge. Press firmly for 30 seconds. Don't slide the nail around once it touches the adhesive—this creates air pockets and weakens the bond.
Step 5: Finish and Protect
File and shape the tips to your preferred length. Apply cuticle oil around the nail bed to soften the look and condition the skin. Avoid water or heavy handwork for the first hour.
How to Make Press-On Nails Last Longer
- Wear gloves for dishes and cleaning
- Apply a thin layer of clear top coat every 2–3 days
- Keep a small tube of glue in your bag for emergency touch-ups
- If one feels loose, use a cuticle pusher—never your teeth
How to Remove and Reuse Them
Soak nails in warm, soapy water for 10–15 minutes. Gently lift from the sides using a cuticle pusher. Don't force or pry. Once removed, clean the press-ons with alcohol and store them in the Jolifeu case for next time.
FAQ
How long do press-on nails last?
With proper prep and glue, 7–14 days. With adhesive tabs, 1–3 days.
Can I reuse Jolifeu press-on nails?
Yes. Our handmade sets are designed to be reused 2–3 times with proper removal and storage.
Can I shower with press-on nails?
Yes, after the first hour. Just avoid long soaks in the first 24 hours.
Why do my press-ons keep falling off?
Almost always it's prep: nails not fully clean, cuticles not pushed back, or glue applied too thick.
Ready to Try It?
Now that you know how to apply press-on nails like a pro, pick a set that matches your mood. From Y2K energy to timeless elegance, Jolifeu's handmade press-on nail collections are designed to look salon-quality without the salon price—or the salon wait.